
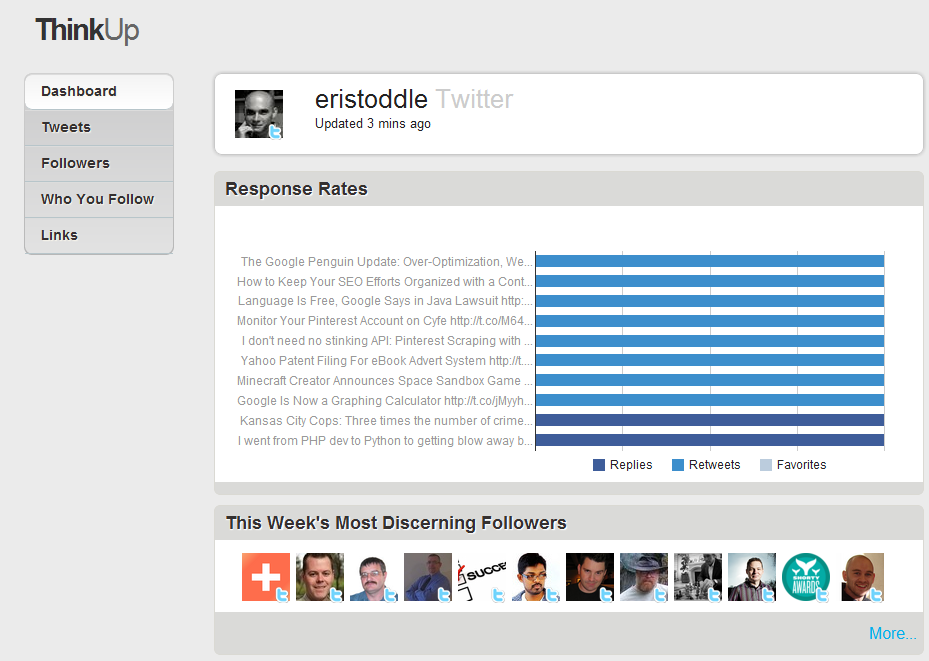
What is ThinkUp?
Thinkup is an open source social media dashboard. It makes it easy to sort and analyze items from your Twitter, Facebook and Google+ accounts and has plugin capabilities. You can read more about Thinkup here.
What is PHPFog?
PHPfog is a hosting platform currently giving away hosting for up to three small apps for free. PHPfog has a one click install process and Thinkup is one of the applications you can install. So I thought, that’s an easy way to test. I have LAMP and WNMP on my computer but I will take some free resources to test something new.
Setting up your ThinkUp installation in PHPfog is really a walk in the park. And the “Try It Free” button requires on credit card at all. So no worry about being free first and then hidden charges popping up later.
And for the most part you can follow this video tutorial here: http://blog.phpfog.com/2012/04/04/installing-thinkup-on-php-fog/. And if that works for you and you get your ThinkUp activation email, you don’t need to continue on. But I never got the email. So…
Activate Your ThinkUp Installation Manually through PhpMyAdmin
Luckily, PHPfog has PhpMyAdmin installed for you when you create a new app:
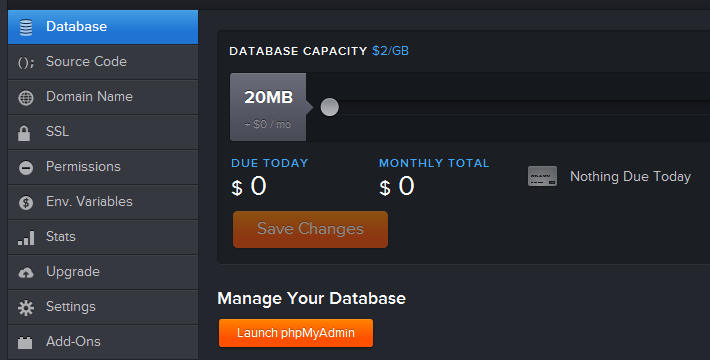
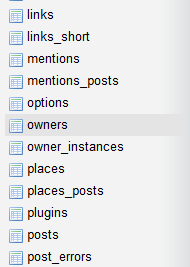
It is in the database menu of your web app control panel. Clicking the orange button will open your ThinkUp database right up. Now the problem I had was activating my admin account. I never got a link, but you don’t really need one if you have database access. Just find the “owners” table on the sidebar and click the link.
This will open up your owner’s table, which should have only one user, the one you created in PHPfog. At the very left end of it’s listing, you should see an edit link.
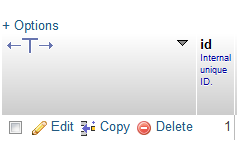
Click on the edit link with the pencil and a form will load allowing you to edit this record.
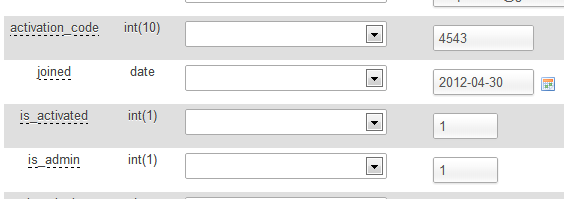
There you should see an “is_activated” field which will currently be set to “0” and you will be changing that and setting it to “1” as shown in the picture above. Then click the “Go” button at the bottom of the form. Your account is now activated and you can login to your ThinkUp app.
Related Posts
Using Display Suite View Mode Switcher
Well, I happened to be looking at Display Suite Extras and found something I thought I might be able to use for a project I am working on. It creates a switc...
Instant E-Commerce with Magento: Build a Shop
Magento is a complex piece of software designed to do just about anything you might want to do with an online shopping cart. And while it is possible to cust...
Instant Magento Performance Optimization How-to
My first suggestion when installing Magento for a live site is get a big dedicated server or use Amazon so you can scale quickly and easily. I mean, you are ...
Mastering Magento - A Magento User's Manual
It takes a while after learning to develop with Magento to even consider picking up any random Magento job that comes along. I have learned that every site h...